
 EN
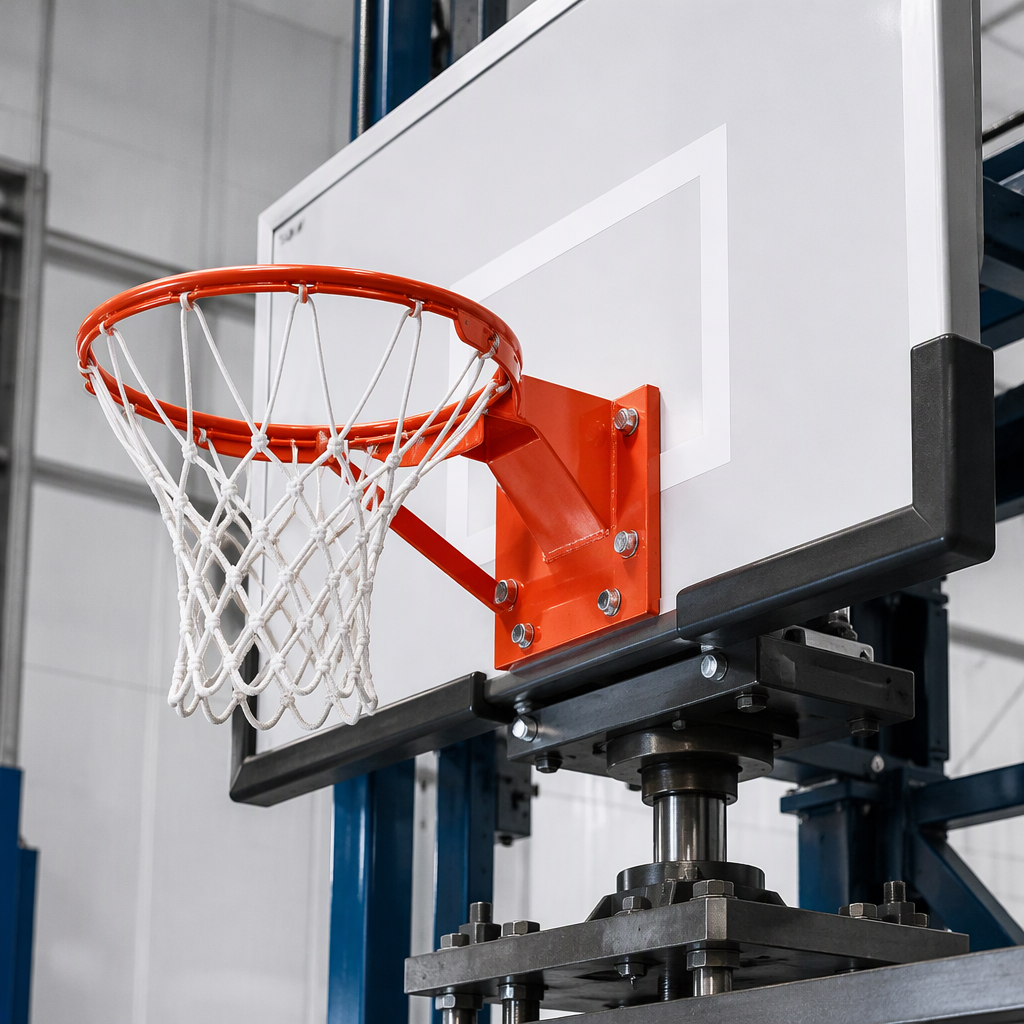
Basketball Rim Quality Control: Welds, Hardware, and Load Testing
Basketball rim quality control protects players, backboards, and the reputation of the equipment supplier. A rim must maintain its shape and attachment under repeated shots, vibration, and approved loads. Weak welds, incorrect hardware, poor coating, or a misaligned net hook can cause early failure even when the rim looks acceptable in a catalog image. B2B buyers should review basketball rim quality control from raw tube preparation through final installation testing.
Define the rim’s intended use
Confirm whether the rim is for recreational play, school use, club competition, outdoor courts, or a system that permits hanging. These categories may require different steel thickness, support plates, spring mechanisms, coating, and load ratings. The backboard and mounting structure must be compatible with the rim specification.
Write the critical dimensions: inside diameter, ring roundness, tube size, mounting-hole pattern, plate thickness, net-hook number and position, finish, and load requirement. If a standard or federation rule applies, include the current reference in the purchase order.
Weld inspection
Welds join the ring, support braces, mounting plate, and hooks. Inspect bead continuity, penetration indicators, porosity, undercut, spatter, cracks, and distortion. The exact inspection method may include visual inspection, gauges, or non-destructive testing according to the risk and specification.
Weld fixtures should hold parts in alignment so that the rim remains round and the plate sits square. Check the first assembly and samples throughout the shift. A weld can be strong but still unacceptable if it pulls the ring out of alignment or leaves sharp projections that can damage a net.
Dimensions and hardware
Measure ring diameter at several points and check flatness, roundness, and attachment alignment. A rim that is not square to the backboard can affect play and create stress in the mounting bolts. Verify hole diameter, spacing, plate thickness, and brace position against the approved drawing.
Hardware should match the load and corrosion environment. Confirm bolt grade, thread engagement, washers, nuts, locking method, and supplied quantity. Outdoor systems need suitable corrosion protection for fasteners as well as for the rim. Do not substitute hardware because it appears to fit.
Load and fatigue testing
Conduct a static load test with the rim attached to the specified board or a representative fixture. Apply the approved load in the defined direction and hold it for the required time. Inspect permanent deformation, weld cracks, plate bending, hardware movement, and net-hook damage.
Fatigue testing should simulate repeated shots, vibration, and the permitted use pattern. If hanging is not allowed, the product and instructions must state that clearly. If a breakaway rim is supplied, test the spring or release mechanism for activation, reset, and consistency. Record the number of cycles and the condition after testing.
Coating, corrosion, and net hooks
Inspect surface preparation, coating coverage, thickness, adhesion, color, and sharp edges. Outdoor rims need protection at welds, holes, corners, and contact points where water can collect. A decorative finish is not proof of corrosion resistance.
Net hooks should be securely formed and evenly spaced. They must hold the intended net without sharp edges that cut fibers or injure hands. Check hook height and welds during final inspection. Net installation is a simple but useful functional test.
Production records and corrective action
Keep steel or tube lot, welding parameters, fixture version, operator, inspection readings, coating batch, hardware code, and test result. When a defect appears, segregate the affected lot and identify its location and likely cause. A cosmetic touch-up should not hide an underlying weld or alignment issue.
For repeat orders, compare dimensions and load-test results with the approved baseline. Any change to steel thickness, weld process, coating, spring, hardware, or mounting plate should be reviewed before production. Retain a master rim or detailed reference photographs.
Packaging and installation
Protect the rim from impact and moisture during export. Separate hardware, cover exposed edges, and prevent rings from rubbing against one another. Installation instructions should specify torque, backboard compatibility, and inspection after assembly. The final system should be checked for level, alignment, and secure attachment.
Conclusion
Effective basketball rim quality control combines weld inspection, dimensional accuracy, correct hardware, coating protection, net-hook safety, and realistic load testing. Buyers who require traceable records and review every engineering change can reduce equipment failures and installation disputes. Treat the rim as a structural product, and basketball rim quality control will support safer courts and more dependable B2B orders.
Final installation verification
Quality control continues after the rim reaches the court. Confirm that the mounting plate is square, bolts are tightened to the approved torque, the ring is level, and the net hooks are secure. Record photographs and the installation date, then schedule a follow-up inspection after initial play. This feedback can reveal movement or coating damage that was not visible in the factory. Linking site evidence to basketball rim quality control records improves maintenance planning and future supplier reviews.